Downloading and Installing a DXLab Application
If you haven't yet installed the DXLab Launcher, do that first.
By default, the Launcher will install the application in C:\DXLab\{application name}. If you override this default and install the application into a folder that Windows considers protected - like C:\Program Files or C:\Program Files (x86) - then
- on a PC running Windows 7 or Windows 8 or Windows 10 or Windows 11, login to an Administrator account
on a PC running Vista, first login to the account named Administrator.
To download and install an uninstalled DXLab application, run the Launcher. The LED-like displays for uninstalled applications will be shown in black, as is the case for DXKeeper, Pathfinder, PropView, and WinWarbler in this screen shot:
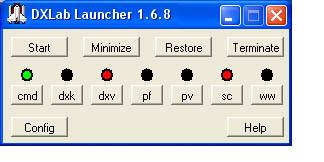
In this example, we'll install DXKeeper, so click the dxk button; the Launcher will confirm your intention to install DXKeeper:

Click the Yes button, and the Launcher will show you where it intends to install DXKeeper:

If the proposed destination folder is acceptable, click the Yes button; otherwise click the No button and DXKeeper will display a window that lets you select your desired destination folder. When that's complete, the Launcher will display its Installation Status window in the upper right corner of your screen:

The Installation Status window will keep you abreast of progress throughout the installation process. After downloading DXKeeper's latest full release, the Launcher initiates the DXKeeper Setup application that will register and install DXKeeper and the components on which it depends.
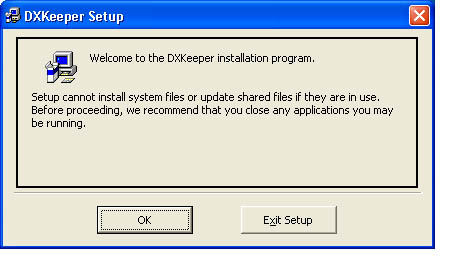
Click the DXKeeper Setup window's OK button to acknowledge its welcome.
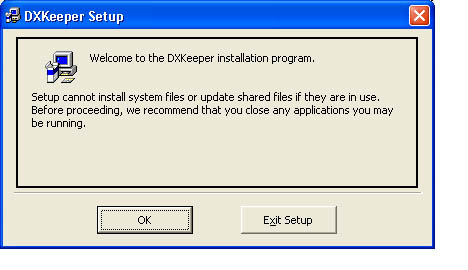
If any other applications besides the Launcher and DXKeeper Setup are running, terminate them. The Launcher's window above shows Commander to be running, so we'll terminate it and then click the DXKeeper Setup window's OK button.
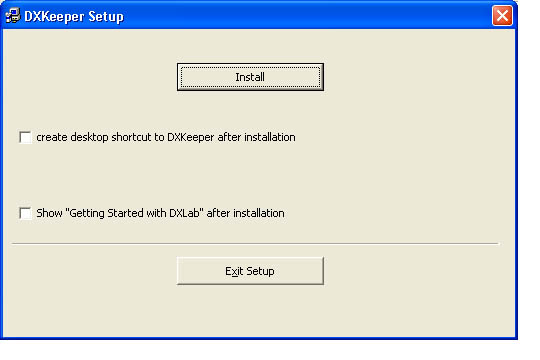
If you want the Launcher to create a desktop short to DXKeeper after DXKeeper is installed, check the create desktop shortcut box; if you want the Launcher to display Getting Started with DXLab in your browser after DXKeeper is installed, click the Show Getting Started with DXLab box. When you're ready, click the Install button, and DXKeeper Setup will let you specify in which start menu group DXKeeper's entry should be placed:
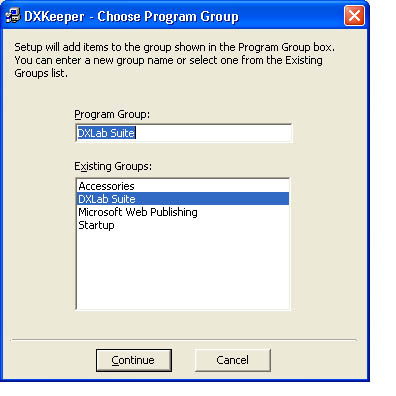
The default will place DXKeeper's start menu entry in the DXLab Suite group, which is recommended. Click the Continue button, and DXKeeper Setup will begin registering DXKeeper and its components, keeping you abreast of its progress with this window:
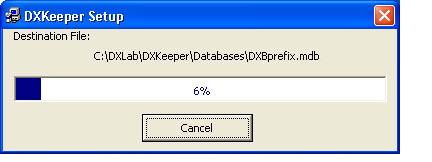
After DXKeeper and all of its components have been registered, DXKeeper will indicate its completion with this window:
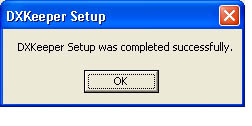
Click the OK button. Within 10 seconds, the Launcher will notice that DXKeeper Setup has installed DXKeeper:

In DXKeeper's case, installation is now complete. If a development update for DXKeeper were available, the Launcher would automatically apply it before declaring installation to be complete. Were you installing DXView or SpotCollector, the Launcher's Install Status window would ask whether to download and install optional files -- country maps in the case of DXView, and audio announcements in the case of SpotCollector -- before display this installation complete window. Click the OK button to acknowledge that installation is complete.
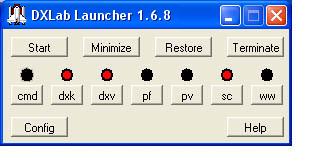
The Launcher's Main window now show's DXKeeper's LED-like display to be red, which means installed but not running. To start DXKeeper, click the dxk button; DXKeeper's LED-like display turns light blue, which means starting:
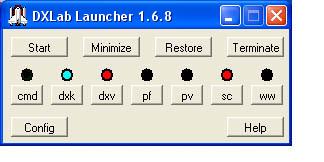
On startup, DXKeeper notices that its never been run before, and asks you to specify your callsign:
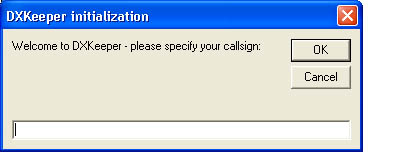
Type your callsign, and click the OK button. DXKeeper will then offer to create an empty new log for your QSOs based on your callsign; to accept, click the Yes button:

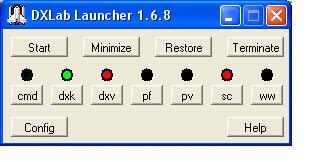
Note: if you take more than a minute or so to type in your callsign and accept DXKeeper's offer to create your log, the Launcher will display a small window indicating that DXKeeper failed to start within a minute, and will change the color of DXKeeper's LED-like display back to green. Not to worry -- when you complete the above two steps, DXKeeper will inform the Launcher of its successful startup, and the Launcher will show DXKeeper's LED-like display as green, which means running.
If you have not yet reviewed Getting Started with DXLab, doing so before your proceed further is strongly recommended!
Post a question or suggestion on the DXLab Discussion Group
If Your Anti-Malware Application Objects to a DXLab Application
